
Can you create your own explainer video?
Natalie Ediger, February 16, 2017· Digital Learning
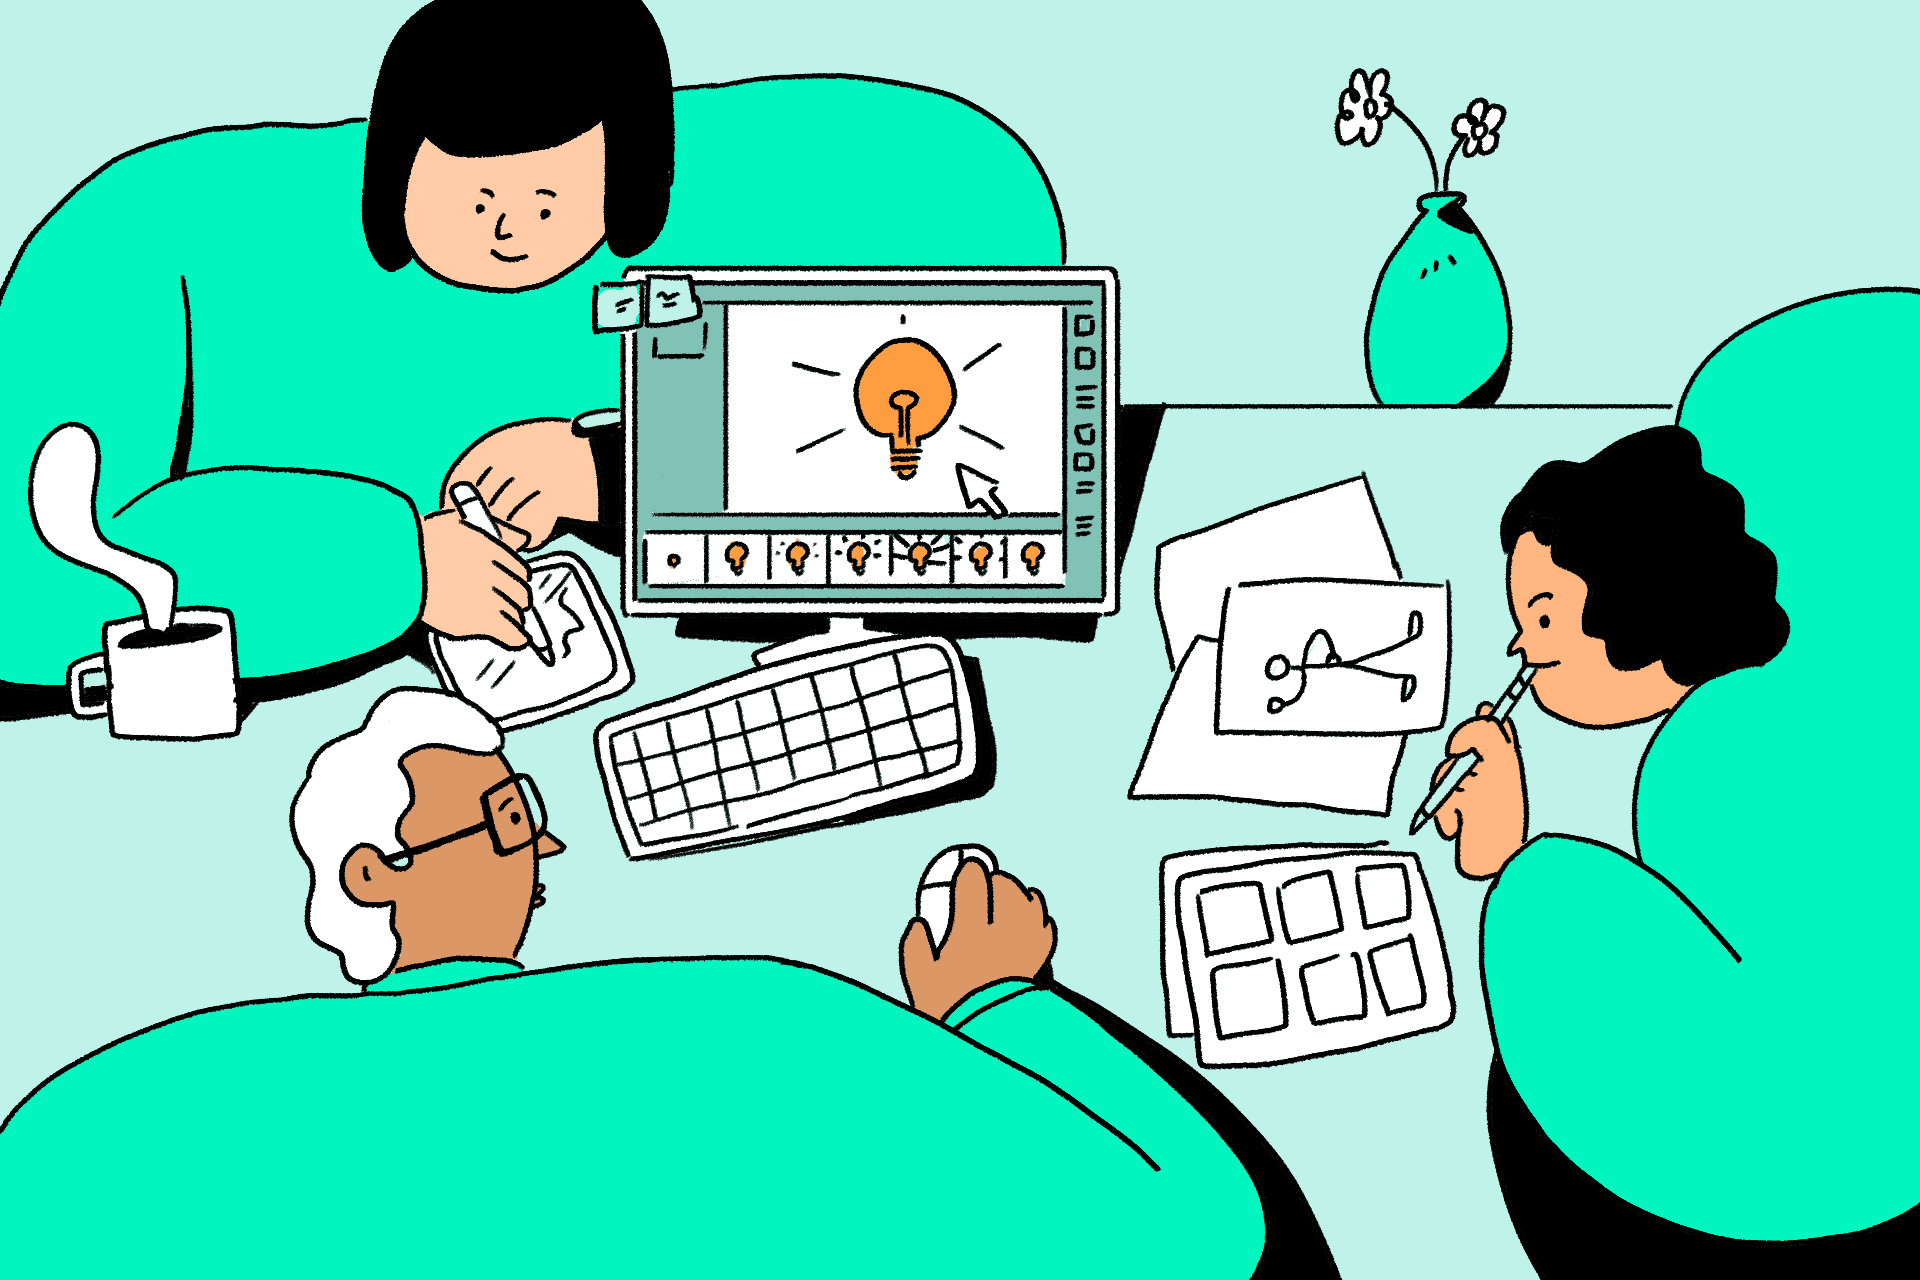
Make your own DIY explainer video
Have you finally decided to integrate an explainer video into your content strategy and are now faced with the big question if and how you can create it by yourself? Then you are at the right place!Nowadays, you shouldn’t miss out on an explainer video. But especially for small companies with a small budget working with an agency is often not feasible. So why not creating a DIY? Today we explain how you can create your own explainer video and share all the details you have to consider!
Creating an explainer- What are the options?
In general, you have three different options when creating an explainer video:
Cooperation with a professional agency
Hiring a freelancer
Making the explainer video yourself
Professional Agency
If you focus on first-class quality, consider the production value and have the available budget, working with a professional explainer video agency is the best option. An agency is not a cost-effective option, but professionals know how to get the message across effectively and get the greatest possible ROI. At the same time, it saves a lot of time and work, as the agency takes care of all production phases and assists in case of questions.
Freelancer
Do you value good quality, but have a slightly smaller budget available? Then freelancers would be a good option to still get a professional explainer video. Please note that freelancers must be hired for each individual production step: From the script and storyboard, to suitable illustration, animation and sound, the coordination of all freelancers can become a whirlwind circus. It becomes even more difficult when all freelancers are scattered around the world and communication is time-delayed. So, it’s a good option, but also requires a lot of good management from your side.
Own production
So now to the actual subject of the article: The DIY video is of course also an option. Meanwhile there are also a lot of software providers to create an good animation. In general, this is also the most cost-effective option and offers you complete transparency and control over all steps. Internal communication is also usually easier and with fewer misunderstandings.
Please note, however, that the creation of an explainer video does not happen at the flick of a switch: An effective script, storyboard, voiceover, post-production and other elements need to be created and require a lot of time and know-how. The final result also depends on your personal commitment. A (good) professional agency, on the other hand, is always ambitious to guarantee its clients the best possible result. Ask yourself at this point if you have the necessary skills to create a professional animation. If so, then off to the workshop. If not, then you should rather go for option 1 or 2. We will reveal all the necessary details about the DIY video in the following.
Creating your own explainer – defining the basics
Important questions should be clarified before going into the actual production. This enables a structured design process to achieve the greatest possible added value instead of ending up in a chaotic juggling act. Analyze the following steps in advance:
What is my goal? Do you simply want to create brand awareness, explain a complex process, or get more email subscribers?
Who is the target group? At this point it should also be clarified how much background knowledge already exists and what insight the target group should gain after watching the video. It is best to develop a buyer persona, i.e. a fictitious representation of the customer, in order to better understand his or her needs.
What is the idea? This is where your brainstorming comes in! Which problem does the product solve? What story should the video tell? How do you address the viewer emotionally? Invest enough time in brainstorming to make sure that your video really tells a gripping story.
Which style is the right one? Based on the previous analysis, as well as the budget, your expertise and the available time, you should also decide on a suitable animation. From 2D, 3D and stop-motion animation, to kinetic typography and classic whiteboard animation, there are many different options and they should also be in line with the corporate image and the product. Learn more about different animation styles in our huge explainer video guide.
Your own explainer- Important ingredients
As soon as you have clarified the basic questions, you can move on to the detailed production. At this point the script is often neglected – an absolute beginner’s mistake! In fact, the script is the most important element of the whole explainer video. Even big marketing specialists like Neil Patel emphasize the importance of the script. But what exactly makes a good script? We have often presented the following structure as a baseline:
Emphasize the problem and address the “pain point” of the customer.
Present the product as a solution to the existing problem. It is important to create an “aha effect” and emphasize the individual added value.
Do not forget to integrate a “Call-to-Action” for further engagement.
Storytelling is absolutely crucial for a successful script in order to create an emotional bond with the audience. No storyline, no successful video! Here are some additional tips for an ultimate power script:
The rule of thumb is 120 words per 60-second video
Pay attention to concise and short formulations as well as clear vocabulary. Depending on the purpose and target group, the topic should be understandable without any previous knowledge
Concentrate on the essential benefits for the target group and not on the product features.
The first few seconds are critical to show the viewer that it is worth watching the video to the end.
The storyboard
For the next step we need to reinforce our statements with pictures. That means, we need to combine individual image scenes with the script and thus deliver a clear message. Don’t worry, it doesn’t have to be a painting à la Picasso, simple scribbles are perfectly sufficient!
Sound and voice over
Sound recording plays a central role in an explainer video in order to emphasize a message more strongly and to appeal to the audience emotionally. Additionally a narrative voice helps the viewer to grasp the content better and is especially essential for more complex products. Depending on the provider, many animation software packages provide a database of music and sounds. Otherwise, the portals Pond5 or Audiojungle are also suitable.
For the voiceover, you should not miss a professional artist who has a perfect command of tonality and articulation. You can already find very good actors for about 100-500 Euros. Voices.com or voice123.com allow you to post a specific project in the form of a job opening and thus find the right voiceover artist. Always listen to a few demos in advance to make sure that the voiceover artist’s tone matches the product and brand image as well as the target audience.
Of course you can also jump into the role of the voiceover artist yourself! Make sure you have a good microphone, a quiet environment, the appropriate speaking tempo and articulation. A big challenge for an untrained speaker is to suppress breathing sounds. You will quickly realize that it is not so easy to create an effective recording. But practice makes perfect!
Create your own explainer – The best softwares
Of course the video still has to be brought to life. For this purpose, there are now numerous software programs that offer different video animations, depending on style, budget and previous knowledge. Here are some common tools:
Biteable: A simple and minimalistic design characterizes this software. Even with the free version you can create high quality HD videos. For more options an upgrade is available. The premium version costs $99/ year.
GoAnimate: As the market leader, this software offers a variety of exciting backdrops, characters, and various features. Infographics, whiteboard and 2D-style videos are available. A free trial version is provided for 2 weeks, the basic version costs $39 per month. If you want even more editing options you can buy the full version for $159.
Videoscribe: This software focuses on whiteboard animation. Here you will find a large database of royalty-free pictures and music, which allows you to create good videos even without any prior knowledge. A free test version is available. From €20 per month you can remove the watermark and get access to the Premium Image Store. .
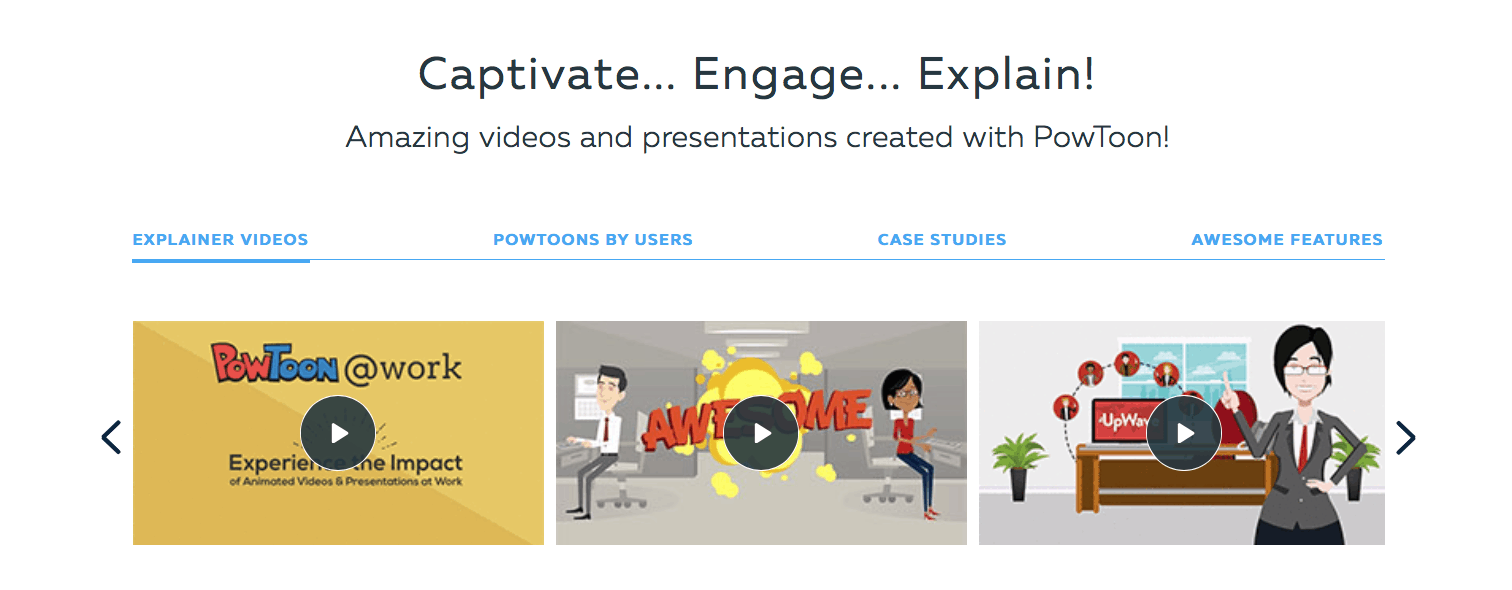
Powtoon: The software contains high-quality templates with a variety of characters. Thanks to the Drag&Drop function, it is easy to use even without any previous knowledge. Powtoon offers a permanent free version, but not in HD quality and only with Powtoon branding. The package for $89 per month already offers more features. The business version costs $159 per month.
Animaker: There is also an easy to use drag and drop function that makes it very user friendly. With 120 different animations and 5 video styles, this software also offers one of the most comprehensive databases.
 iclone7: A variety of plugins, different characters and impressive lighting positions. The difference to all other programs? Using real-time graphics engine and motion capture capability, iclone7 focuses on real-time 3D animation. But it comes at a price: The full version costs $200, a free trial version is available but with extremely limited features.
Wideo: A particularly simple handling characterizes this software for the creation of 2D animations. In addition, the templates can be made a little more personal by uploading your own pictures, music and logos. In addition, the program provides built-in templates with 1300 images and more than 50 different music titles. The basic package starts at $19 per month.
Rawshorts: With the help of image placeholders and different backgrounds you can easily create different frames. So you can create creative videos with smooth transitions in no time. A free trial version is available.
Fiverr: This is not a DIY- platform, but a database for freelancers who take over parts of the video production. The tendering platform offers all services from the marketing sector – at very reasonable prices. From graphic design and texts to animations and videos, you will find everything you need. 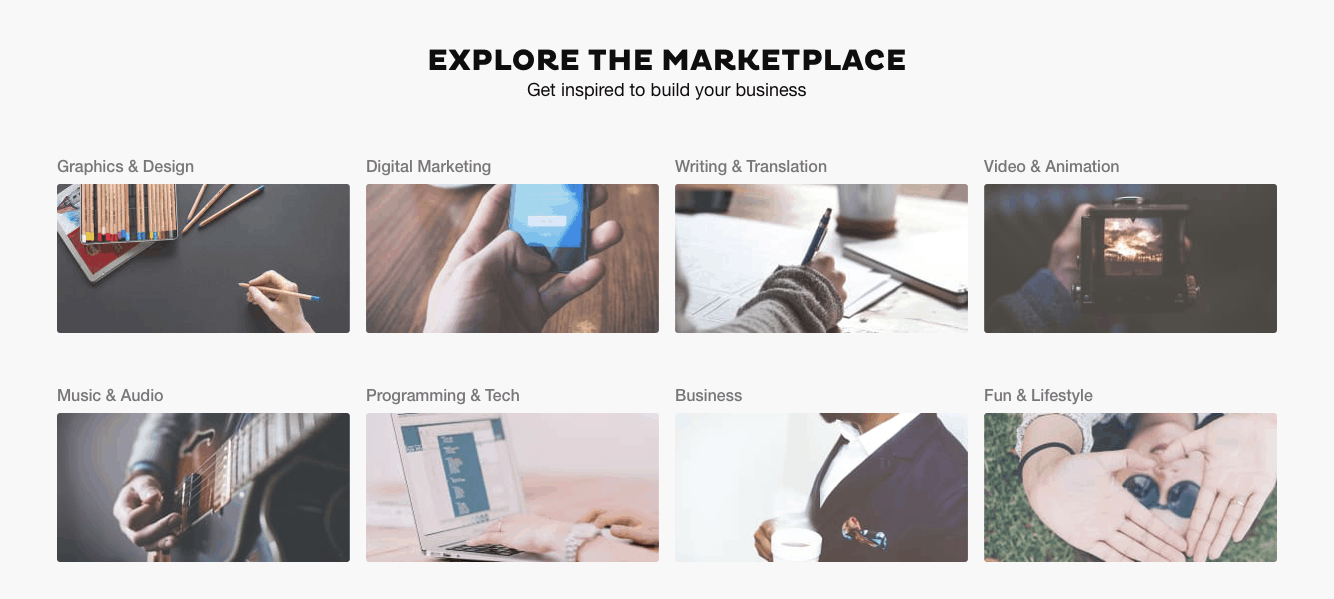
Create your own explainer – Is it really worth it?
As you can see, there are great ways to create your own explainer video. However, always consider the production value. Often this option is much cheaper than working with professionals, but the quality is also lower and the animation much simpler. It is therefore questionable whether you can achieve the desired added value.
Especially as a company it is of course important to always create a professional and convincing impression. Regardless of the video style, certain basic skills should not be missing at least in scripting and storytelling. Therefore, think carefully about whether your technical knowledge is really sufficient to bring a high-quality explainer to life. Video content is effective, but not if it is ” crap content”. Poor quality even harms your image. Then maybe it’s better to invest a little more and make sure that the explainer video is of high quality. At this point we obviously help you… 🙂